How to Bleed Brakes on a Xterra (Step-by-Step Guide)
Restore a firm Nissan Xterra brake pedal by bleeding the system: DOT 3 vs DOT 4 by generation, correct wheel sequence, two- and one-person methods.

One-tap dark, screen-awake, step-by-step reading for hands-on work.
How to Bleed Brakes on a Nissan Xterra (Step-by-Step Guide)
Whether you're navigating rocky trails or cruising down the highway, your Nissan Xterra's braking system is your most critical safety feature. Over time, however, you might notice the brake pedal feels less responsive, sinking further than it should. This unsettling "spongy" or "soft" feeling is a classic sign that air has infiltrated your brake lines, compromising your stopping power and putting you at risk. It's time to bleed the brake.
Air is compressible, unlike brake fluid. When you press the pedal, that trapped air gets squeezed before the fluid can do its job of engaging the calipers and drums. This creates a delay and a mushy pedal feel that demands immediate attention. Fortunately, bleeding the brakes is a fundamental maintenance task that a prepared DIYer can confidently perform. It's the definitive way to purge air and old, contaminated fluid, restoring the firm, reliable pedal feel your Xterra was designed to have.
This comprehensive guide will walk you through the entire Nissan Xterra brake bleed procedure, from identifying the symptoms to the final safety checks. We'll cover the specific needs of both first-generation (2000-2004) and second-generation (2005-2015) models, ensuring you have the exact information required to do the job right.
When to Bleed Your Nissan Xterra's Brakes
Knowing when to perform a brake bleed is just as important as knowing how. This procedure is required not only when problems arise but also as part of a smart, preventative maintenance schedule to keep your Xterra's hydraulic system in peak condition.
Telltale Signs You Need a Brake Bleed
Your vehicle will often give you clear signals that air has entered the brake lines. Be on the lookout for these classic symptoms:
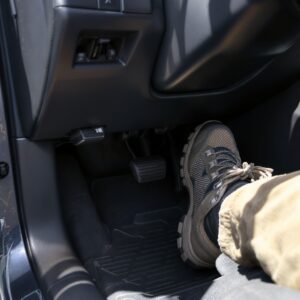
- A Soft or Spongy Brake Pedal: This is the number one indicator. If your brake pedal feels squishy or travels too far toward the floor before the brakes engage, it's almost certainly due to air or moisture in the fluid.
- Brake Warning Light: An illuminated brake warning light on your dashboard can indicate that the fluid level in the master cylinder reservoir is dangerously low. This can happen from a leak or as brake pads wear, but it's a critical alert to inspect the system, top off the fluid, and likely perform a bleed.
After Brake System Repairs
You should always bleed the brakes after replacing any component that involves opening the hydraulic system. This includes jobs like:
- Replacing brake pads and calipers
- Installing new brake lines or hoses
- Replacing the master cylinder
- Servicing the ABS unit
Any of these repairs creates an opportunity for air to enter the lines, making a thorough bleed a non-negotiable final step.
Routine Maintenance Schedule
Even if you don't notice any issues, brake fluid doesn't last forever. It's hygroscopic, meaning it absorbs moisture from the atmosphere over time. This water contamination lowers the fluid's boiling point, which can lead to brake fade under heavy use, and causes internal corrosion. For this reason, Nissan recommends a full brake fluid flush and bleed:
- Normal Use: Every 24 months or approximately 24,000 miles.
- Severe Use (Off-roading, Towing): Every 12-15 months or 15,000 miles.
Essential Tools & Materials for an Xterra Brake Bleed
Gathering all your tools and supplies before you start is key to a smooth and safe process. Having everything within reach prevents you from leaving the job halfway through to find a part.
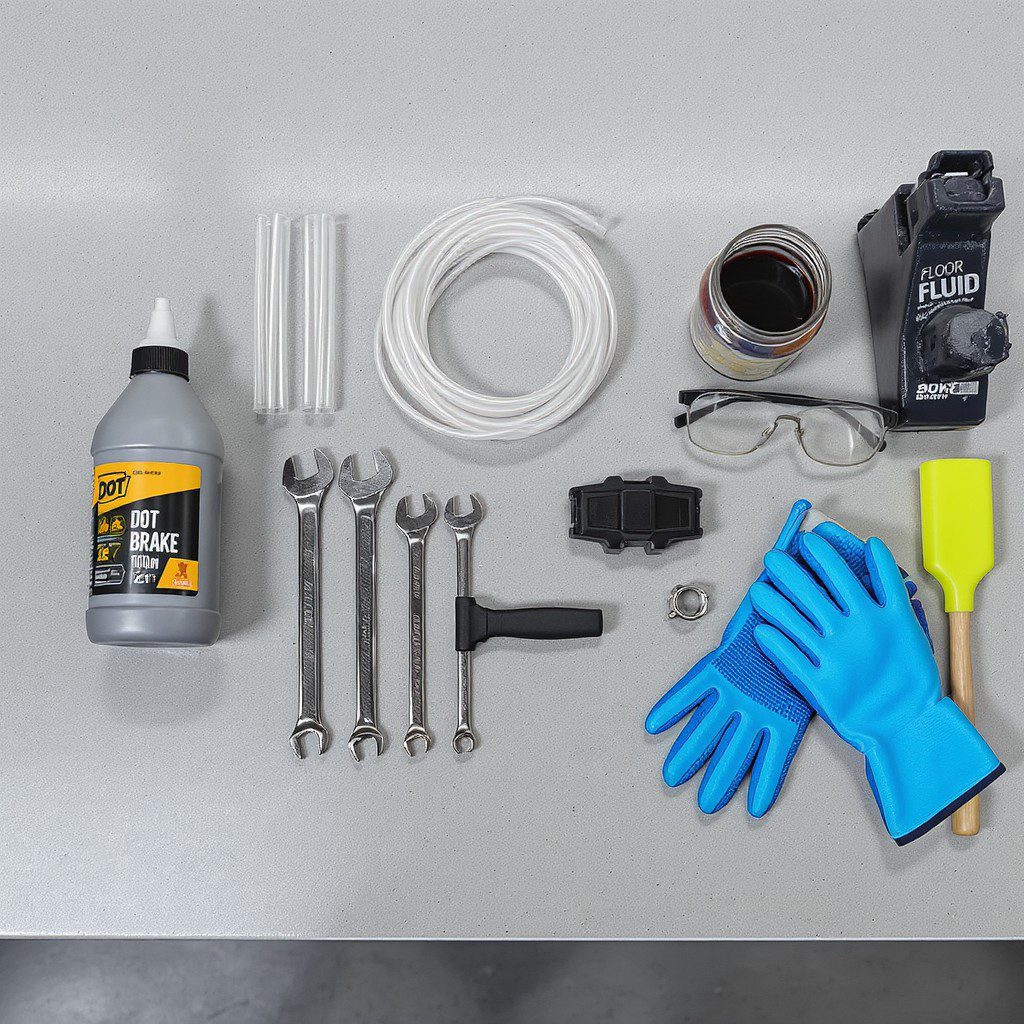
Here is what you'll need:
- Correct Brake Fluid: The single most important supply. Use a fresh, sealed bottle.
- Wrenches: A set of box-end or, ideally, flare-nut wrenches to fit the bleeder screws (typically 10mm-12mm). Flare-nut wrenches grip more sides of the screw, preventing rounding.
- Clear Vinyl Tubing: Sized to fit snugly over the bleeder valve nipple.
- Catch Bottle or Jar: A clear container to collect the old fluid, partially filled with some fresh fluid to prevent air from sucking back into the line.
- Jack and Jack Stands: A reliable floor jack and at least two sturdy jack stands are essential for safety. Never work under a vehicle supported only by a jack.
- Wheel Chocks: To secure the wheels remaining on the ground.
- Safety Gear: Nitrile gloves and safety glasses are a must. Brake fluid is caustic and can damage skin and eyes.
- Shop Towels & Rags: For inevitable cleanup and to protect painted surfaces.
- Turkey Baster or Syringe: To remove old, dirty fluid from the master cylinder reservoir before you begin.
Optional (but highly recommended for one-person jobs):
- Vacuum Bleeder: A hand-pumped tool (like a Mityvac) that uses suction to pull fluid and air through the bleeder screw.
- Pressure Bleeder: A device that pressurizes the master cylinder reservoir, forcing fluid through the system.
- One-Way Bleeder Valves (SpeedBleeders™): These replacement bleeder screws have an internal check valve that lets fluid out but not back in, making solo bleeding incredibly simple.
Xterra Brake Fluid 101: Choosing the Right Spec
Using the wrong type of brake fluid can cause serious damage to your brake system's seals and components. Nissan Xterra models have different requirements based on their generation, primarily due to advancements in ABS technology.
| Generation | Model Years | Engine Options | Required Brake Fluid |
|---|---|---|---|
| 1st Generation | 2000–2004 | 2.4L I4, 3.3L V6 | DOT 3 |
| 2nd Generation | 2005–2015 | 4.0L V6 | DOT 4 |
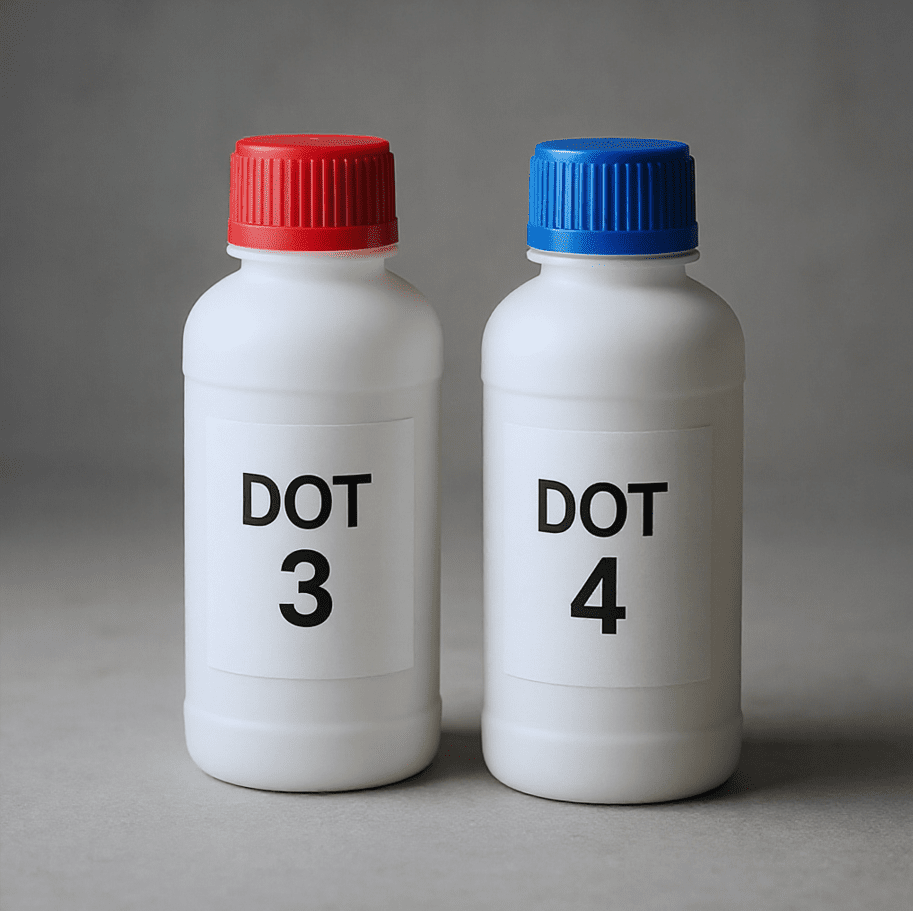
Always double-check the cap of your brake fluid reservoir or your owner's manual to confirm the correct fluid type. DOT 4 fluid has a higher boiling point and is better suited for the more advanced ABS systems in the second-gen Xterras. While you can use DOT 4 in a DOT 3 system, you should never use DOT 3 in a system that specifies DOT 4.
Locating and Managing the Master Cylinder Reservoir
On all Nissan Xterra models, the brake fluid reservoir is a translucent plastic container mounted to the master cylinder, located on the driver's side of the engine bay against the firewall. It has clearly marked "MIN" and "MAX" lines.
CRITICAL SAFETY WARNING
Never let the fluid level in the master cylinder reservoir drop below the "MIN" line during the bleeding process. If the reservoir runs dry, you will suck a massive amount of air into the master cylinder, making the bleeding process significantly more difficult. Keep a constant eye on the level and top it off frequently.
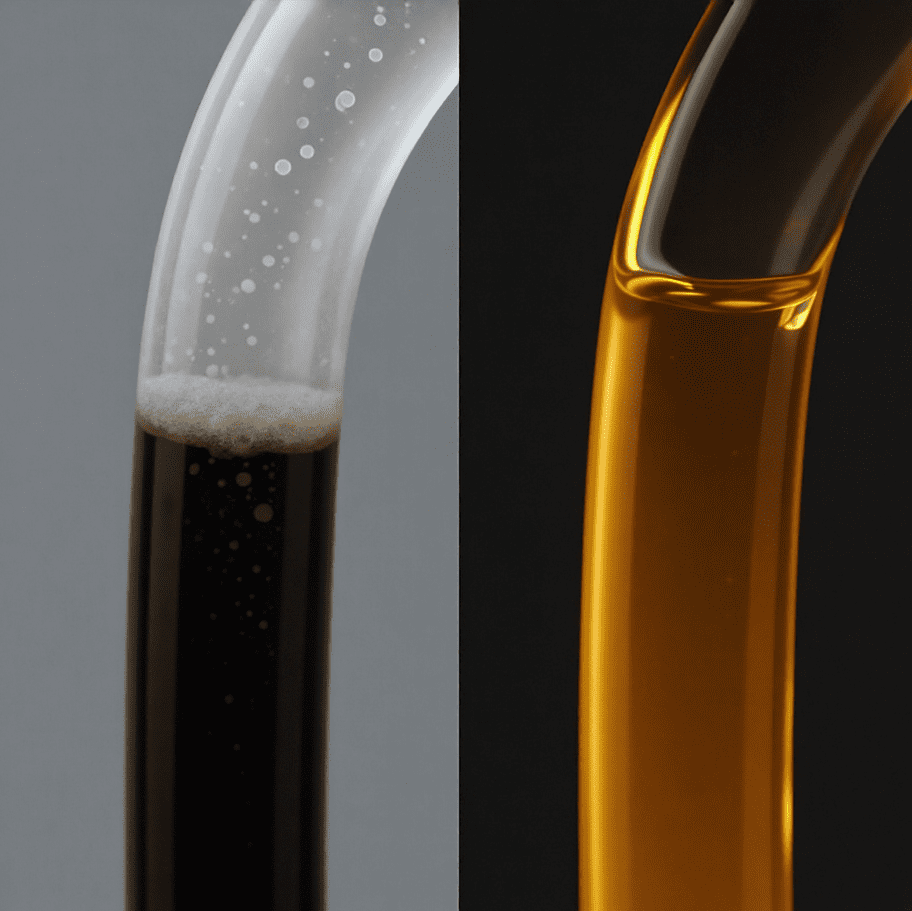
Recognizing Contaminated Fluid
Fresh brake fluid is typically a light amber or clear color. If you open your reservoir and find the fluid is dark brown, black, or murky, it's heavily contaminated with moisture and debris. In this case, a simple bleed isn't enough; you should perform a full system flush by bleeding each wheel until the fluid running out is clean and clear.
The Complete Nissan Xterra Brake Bleeding Procedure
With your tools gathered and your fluid confirmed, it's time to get to work. This step-by-step process will guide you through the two-person method, which is the most common and reliable approach for DIYers.
Step 1: Vehicle Prep and Safety
- Park on Level Ground: Ensure the vehicle is on a flat, stable surface.
- Chock the Wheels: Place wheel chocks securely behind the wheels that will remain on the ground.
- Loosen Lug Nuts: Before lifting the vehicle, slightly loosen the lug nuts on all four wheels.
- Lift and Secure the Vehicle: Using your floor jack on the recommended frame or differential jacking points, lift the vehicle and secure it on jack stands.
- Remove the Wheels: Finish removing the lug nuts and take all four wheels off for easy access to the calipers and drum cylinders.
- Prep the Reservoir: Clean any dirt from around the master cylinder cap before opening it. Use a turkey baster to remove most of the old, dark fluid, and refill with fresh fluid to the "MAX" line. Place the cap loosely back on top to prevent contamination.
Step 2: Locate Bleeder Valves and Determine the Sequence
Each wheel's brake has a bleeder valve (or screw). On the front wheels, it's a small nipple-like valve on the back of the brake caliper. On the rear:
- 1st Gen (2000-2004): These models have rear drum brakes. The bleeder valve is located on the back of the wheel cylinder.
- 2nd Gen (2005-2015): These models have rear disc brakes. The bleeder is on the back of the brake caliper, just like the front.
The bleed sequence is designed to push air out through the longest brake lines first. The generally accepted order is to start with the wheel farthest from the master cylinder and work your way closer:
- Right Rear
- Left Rear
- Right Front
- Left Front
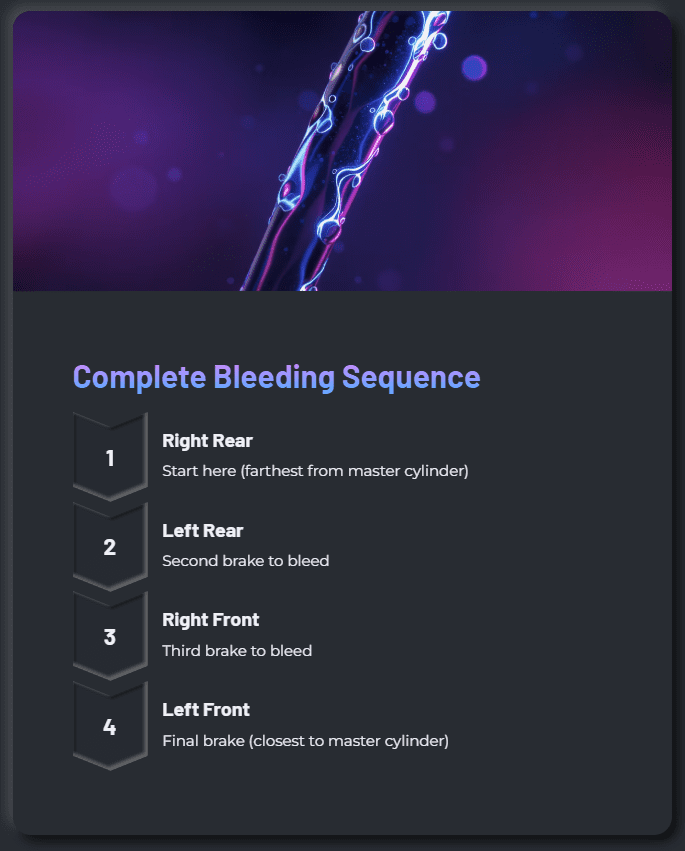
Note: Some Nissan factory service manuals specify a slightly different order (Left Rear -> Right Rear -> Left Front -> Right Front). While either method works, the "farthest to nearest" approach is a universally safe bet.
Step 3: The Two-Person Bleeding Method
This process requires clear communication between the person at the wheel (the "pumper") and the person at the brake (the "bleeder").
- Attach the Hose: Place your flare-nut wrench over the bleeder screw on the first wheel (right rear). Push one end of your clear vinyl tubing firmly onto the bleeder nipple and place the other end into your catch bottle, ensuring the tip is submerged in fluid.
- PUMP: Instruct your helper to slowly pump the brake pedal 3-4 times to build pressure, then HOLD it firmly to the floor. They should shout "Holding!"
- OPEN: While the pedal is held down, turn the bleeder screw about a quarter-turn counter-clockwise. You will see a stream of fluid and air bubbles exit through the tube.
- CLOSE: Before the pedal hits the bottom of its travel (after about 2-3 seconds), quickly and snugly tighten the bleeder screw. Shout "Closed!"
- RELEASE: Once the screw is tight, tell your helper to slowly release the brake pedal.
- REPEAT: Continue this "Pump-Hold-Open-Close-Release" cycle until you see no more air bubbles in the clear tubing and the fluid runs clean. This may take 5-10 cycles per wheel.
- Check Fluid Level: After every few cycles, check the master cylinder reservoir and top it off with fresh fluid.
Once a wheel is done, tighten the bleeder screw to its final torque (approx. 7-9 Nm or 61-78 in-lbs), remove the tubing, and replace the rubber dust cap. Move to the next wheel in the sequence.
Step 4: One-Person Bleeding Techniques (Optional)
If you're working alone, a vacuum or pressure bleeder is your best friend.
- Vacuum Bleeder: Attach the pump's cup to the bleeder screw, create a vacuum, and then crack the bleeder open. The suction will pull the fluid and air out.
- Pressure Bleeder: This tool attaches to the master cylinder and pressurizes the system, allowing you to simply go to each wheel and open the valve until the air is gone.
These tools make the job faster but follow the same sequence and safety precautions.
Troubleshooting Common Brake Bleed Problems
Sometimes, even after a careful bleed, the pedal doesn't feel right. Here are a few common issues and their solutions.
- Persistent Spongy Pedal: This almost always means air is still trapped somewhere. The most common cause is letting the reservoir run low. The solution is simple: re-bleed the entire system, being extra careful to keep the reservoir full. If the problem persists, you may have a failing master cylinder or a flexible brake hose that is bulging under pressure.
- Brake Warning Light Stays On: If the fluid is at the "MAX" line but the light is still on, the float sensor inside the reservoir might be stuck or faulty. Gently tap the reservoir to see if it frees up. Also, ensure your parking brake is fully disengaged.
- Pedal Sinks Slowly to the Floor: If the pedal feels firm initially but slowly sinks under steady pressure, you likely have an external fluid leak or an internal leak within the master cylinder. Carefully inspect all lines, fittings, and calipers for signs of wetness. If no external leaks are found, the master cylinder needs to be replaced.
Pro Tips & Tricks for a Flawless Brake Bleed
- Protect Your Paint: Brake fluid is an excellent paint stripper. Immediately wash off any spills on painted surfaces with plenty of water. It's wise to lay rags around the master cylinder before you start.
- Use the Right Wrench: We can't say it enough: a six-point flare-nut wrench is far superior to a standard open-end wrench for this job. Bleeder screws can be rusty and soft, and rounding them off will turn a simple job into a major headache.
- Test Brakes Safely: After you've reinstalled the wheels and lowered the vehicle, pump the brake pedal several times before starting the engine. It should feel high and firm. Then, perform your first test drive at low speed in a safe, empty area to confirm proper brake function.
- Store Fluid Properly: Once you open a bottle of brake fluid, it starts absorbing moisture. Tightly cap any unused fluid and use it within a reasonable time. Never use fluid from an old, unsealed container.
Frequently Asked Questions
How often should I bleed the brakes on my Nissan Xterra?
For normal driving, bleed/flush the system every 24 months or about 24 000 miles. Under severe use (off-roading, towing) shorten the interval to 12–15 months or roughly 15 000 miles.
Which brake-fluid spec does my Xterra use?
1st-generation models (2000-2004) require DOT 3; 2nd-generation models (2005-2015) require DOT 4. Always match the spec printed on the reservoir cap or owner’s manual.
What is the correct wheel order for bleeding Xterra brakes?
Start with the wheel farthest from the master cylinder and work closer: Right-Rear → Left-Rear → Right-Front → Left-Front.
Why does the pedal stay spongy after bleeding?
Air may still be trapped (often because the reservoir was allowed to run low). Re-bleed all wheels, keeping the fluid level above MIN; if the problem persists, check for leaks or a faulty master-cylinder or flexible brake hose.
Can I bleed the brakes by myself?
Yes. Use a vacuum or pressure bleeder (or SpeedBleeder® valves) and follow the same wheel order; maintain reservoir level throughout the process.
Conclusion - Bleed Brakes
A firm, responsive brake pedal is essential for the safety and control of your Nissan Xterra. By following this guide, you have successfully purged harmful air and contaminants from your hydraulic system, restoring its performance and giving you peace of mind on and off the road. Remember that this isn't a one-time fix but a crucial part of your vehicle's long-term maintenance.
Take a moment to properly dispose of the old brake fluid at a local auto parts store or hazardous waste recycling facility. After your first test drive, do a final check of the fluid level in the reservoir and inspect each bleeder screw for any signs of leakage.
If you've performed the bleed correctly and the pedal still feels soft or you encounter other persistent issues, don't hesitate to consult a professional mechanic. Some problems, like a failing ABS module or an internal master cylinder leak, require specialized tools and expertise. By tackling this job yourself, you've not only saved money but have also become more connected with and knowledgeable about your capable Nissan Xterra.
Discover comprehensive Xterra care tips in our Ultimate DIY Maintenance Guide for Nissan Xterra (2000-2015) - your complete resource for keeping your SUV running smoothly.