Xterra Timing Chain Noise Fix: A Guide
Stop the Nissan Xterra timing chain rattle or whine: all three engines, stretched chains, failed tensioners, worn guides, OEM parts, and replacement steps.

One-tap dark, screen-awake, step-by-step reading for hands-on work.
Not sure this is the problem? Run the symptom diagnostic to compare likely causes.
Nissan Xterra Timing Chain Noise Fix: A Complete Rattle & Tensioner Guide
That unmistakable metallic rattle on a cold morning startup - it’s a sound that can make any Nissan Xterra owner’s heart sink. The fear of a catastrophic engine failure is real, but when it comes to the common Xterra timing chain noise, there’s often good news. This sound is rarely a death sentence for your engine. Instead, it’s a clear symptom of a tired timing chain system, a well-documented and, more importantly, a fixable issue.
Whether you're driving a rugged 1st Gen with the workhorse 2.4L or 3.3L engine, or a powerful 2nd Gen with the 4.0L V6, that clatter or whine is a cry for help from your engine's timing components. Worn-out tensioners, stretched chains, and failing plastic guides are the usual suspects. Ignoring the noise can lead to jumped timing and severe engine damage, but addressing it proactively can save you thousands and keep your Xterra running strong for many more miles.
This comprehensive guide is your one-stop resource for tackling Nissan Xterra timing chain noise. We’ll walk you through diagnosing the specific sound your engine is making, understanding the root causes, and gathering the right tools and parts. With detailed, engine-specific step-by-step replacement instructions, you'll have the confidence to either tackle this job yourself or have an informed conversation with your mechanic.
What Does a Bad Xterra Timing Chain Sound Like? (Symptoms & Diagnosis)
Before you start ordering parts, it's crucial to correctly identify the noise. A timing chain rattle has distinct characteristics that separate it from other engine sounds like lifter tick or a loose accessory belt. The sound will almost always originate from the front of the engine, behind the large metal timing cover.
General Rattle Clues
A loose or worn timing chain system typically produces a metallic "clicking," "rattling," or "clattering" noise. It's most prominent during a cold start when oil pressure is low and fades slightly as the engine warms up and oil circulates. A key diagnostic clue is that the noise frequency increases with engine RPM - as you press the gas, the rattle gets faster. A high-frequency buzzing or whining sound that rises and falls with engine speed is another tell-tale sign, especially on later models. If the noise does not change with RPM, it's likely something else.
1st Gen Xterra: 2.4L KA24DE Engine Noise
On the 4-cylinder XE models, the classic symptom is a sharp clatter for a few seconds right after a cold start. This is often the hydraulic tensioner struggling to build pressure. A more persistent "marbles in a can" sound can indicate that the upper plastic chain guide has broken apart - a very common failure. In fact, Nissan issued a service bulletin advising technicians to simply remove and discard the problematic upper guide.
1st Gen Xterra: 3.3L VG33E / VG33ER Engine Noise
The V6 models from the first generation exhibit a similar startup rattle from a worn chain or a failed tensioner. Because this engine also uses a hydraulic tensioner, a clatter that quiets down after the engine is warm points directly to a tensioner that can no longer hold oil pressure. Be sure to differentiate this sound from any idler pulley squeal or, on the VG33ER, supercharger belt noise.
2nd Gen Xterra: 4.0L VQ40DE Engine Noise
The second-generation Xterra's 4.0L V6 has a famous and well-documented timing chain issue. The noise is often described as a high-pitched "whine" or "buzz" that rises in pitch directly with engine RPM. This sound is almost always caused by wear on the secondary timing chain tensioner "shoes" (the plastic guides). The plastic wears down, allowing the chains to contact the metal tensioner piston, creating the signature whine.
The VQ40DE Whine
A high-frequency buzzing or whining noise from the timing chain area of a 4.0L VQ40DE engine that increases with RPM is a definitive sign of worn secondary timing chain tensioner shoes. The official Nissan fix involves replacing both secondary timing chains and their tensioner shoes.
Why Is My Xterra's Timing Chain Rattling? (Root Causes)
The rattle you hear is the end result of one or more components in a complex system failing. Understanding the "why" helps in performing a complete and lasting repair.
- Chain Stretch & Elongation: Over tens of thousands of miles, the metal links and pins in the timing chain wear, causing the chain to effectively "stretch." This creates slack that the tensioner can no longer compensate for, allowing the chain to slap against its guides. This is a primary cause of noise in high-mileage KA24DE and VG33E engines.
- Tensioner Failure: Tensioners are designed to keep the chain taut. The Xterra uses two types:
- Hydraulic Tensioners: Found on the VQ40DE and VG33E, these use engine oil pressure to push a plunger against the chain guide. They can fail when internal seals leak, or when sludge from old oil clogs their small passages, preventing them from holding pressure.
- Mechanical Tensioners: The KA24DE uses a spring-loaded, ratcheting tensioner. These can fail if the spring weakens or if the ratcheting mechanism gets stuck.
- Worn or Broken Chain Guides: These plastic or polymer rails guide the chain. Over time, they become brittle from heat cycles and can crack or break apart. The VQ40DE's secondary tensioner shoes are a prime example of a guide designed with a soft plastic that wears down, causing the infamous whine.
- Low Oil Pressure & Poor Oil Quality: This is a silent killer of timing systems. Hydraulic tensioners require clean, proper-viscosity oil to function. Running the engine low on oil, using the wrong weight, or extending oil change intervals allows sludge to build up, starving the tensioners and accelerating wear on the entire system.
Essential Tools & Parts for the Job
This is an intermediate-to-advanced DIY job. Having the right tools and a complete set of parts before you start is non-negotiable.
Specialty Nissan Tools You'll Need
While many tools are standard, a few specialty items make the job on the 4.0L VQ40DE much more manageable.
- Timing Chain Tensioner Pin Kit (J-50246 or equivalent): For the VQ40DE, you must have pins to hold the primary and secondary tensioners in their compressed state during disassembly and reassembly. You can sometimes improvise with small drill bits or straightened cotter pins, but the proper tool is recommended.
- Crankshaft Locking Tool (J-48761 or equivalent): This tool holds the VQ40DE's flywheel/flexplate, preventing the engine from turning while you loosen or tighten the high-torque crankshaft pulley bolt.
Common Mechanic's Tools
- Comprehensive metric socket and wrench set (10mm - 19mm)
- Breaker bar and/or impact wrench for the crank pulley bolt
- A reliable torque wrench is essential for reassembly
- Pry bars and flat-head screwdrivers
- Gasket scraper and RTV sealant
- Oil drain pan and funnels
Recommended Parts by Engine
Always buy a complete timing kit. It's foolish to replace just one failed part when the others are likely near the end of their service life.
For 2.4L KA24DE (1st Gen XE):
- Timing Kit: An aftermarket kit from a reputable brand like Cloyes or DNJ is a great choice. It should include:
- Primary Timing Chain: (OEM Ref: 13028-5B600)
- Tensioner: (OEM Ref: 13070-AD504)
- Chain Guides: At a minimum, the slack-side guide (OEM Ref: 13091-9E000). Do not install a new upper guide. Per the TSB, it should be removed and discarded.
- Seals & Gaskets: Front Timing Cover Gasket, Front Crankshaft Oil Seal, Valve Cover Gasket.
- Oil: 5 Quarts of quality 5W-30 Synthetic Blend or Full Synthetic oil and a new oil filter.
For 3.3L VG33E / VG33ER (1st Gen SE/XE):
- Timing Kit: Look for a kit that includes:
- Timing Belt (This engine uses a belt, not a chain): (OEM Ref: 13028-53J03 is a chain number for other VG engines, ensure you buy a belt kit for the VG33E/ER in the Xterra)
- Tensioner: (OEM Ref: 13070-42L00)
- Water Pump: It's driven by the timing belt and should always be replaced at the same time.
- Seals & Gaskets: Front Crankshaft Seal, Camshaft Seals, Valve Cover Gaskets.
- Oil: 5 Quarts of 5W-30 oil and a new filter.
For 4.0L VQ40DE (2nd Gen):
- Timing Kit: This is a complex system. A complete kit is mandatory.
- Primary Timing Chain: (OEM Ref: 13028-ZK01C)
- Secondary Timing Chains (x2): (Part of kit)
- Primary Tensioner: (OEM Ref: 13070-ZK01A)
- Secondary Tensioners (x2): (Part of kit)
- All Chain Guides & Tensioner Shoes: The updated, more durable tensioner shoes are the most critical part of this repair.
- Seals & Gaskets: Front Timing Cover Gasket & O-Ring Set, Front Crankshaft Seal, Valve Cover Gaskets.
- Oil: ~5.5 Quarts of 5W-30 Full Synthetic oil and a new OEM-spec oil filter.
How to Replace the Nissan Xterra Timing Chain: Step-by-Step
This process requires patience and precision. An incorrect timing alignment can destroy your engine. Always consult a factory service manual for your specific year if possible.
CRITICAL SAFETY WARNING: Before you begin, disconnect the negative battery terminal. The engine must be completely cool. Drain the engine oil and coolant. This is a complex job; if you are unsure at any point, stop and consult a professional.
Replacing the 2.4L KA24DE Timing Chain
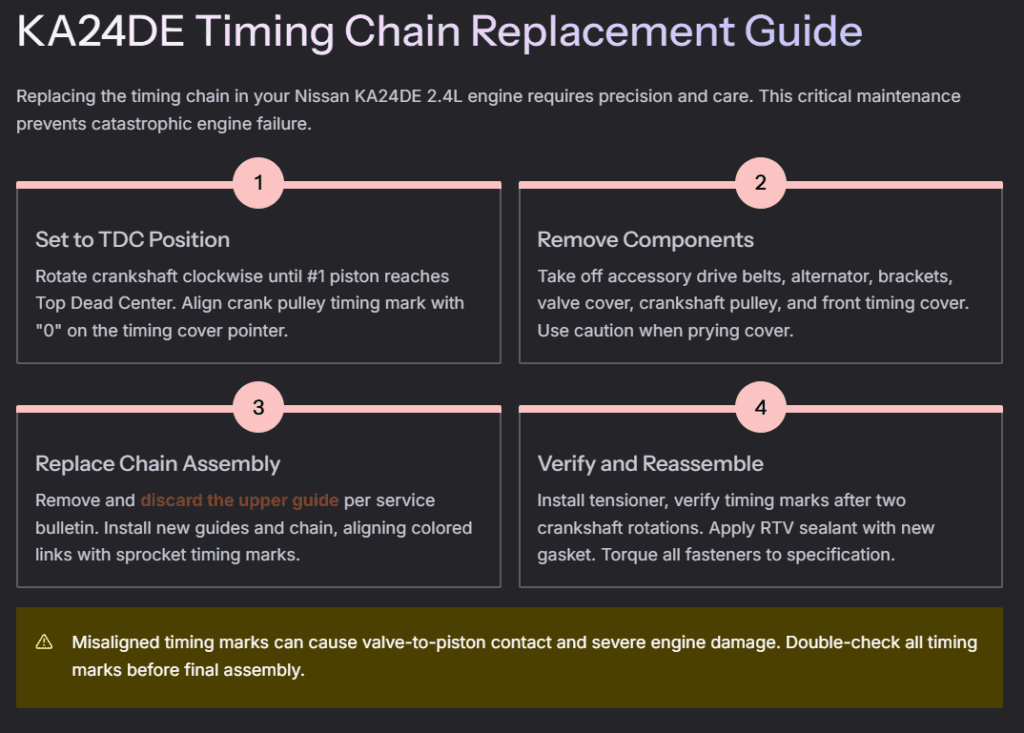
- Set to TDC: Rotate the engine crankshaft clockwise until the #1 piston is at Top Dead Center (TDC) of its compression stroke. The timing mark on the crank pulley should align with the "0" on the timing cover pointer.
- Remove Accessories: Remove the accessory drive belts, alternator, and any brackets blocking the front timing cover.
- Remove Covers: Remove the valve cover. Then, remove the crankshaft pulley bolt and pulley. Unbolt the front timing cover and carefully pry it off.
- Remove Old Components: Unbolt and remove the chain tensioner and the chain guides. As per the service bulletin, discard the upper guide. Slide the old timing chain off the sprockets.
- Install New Components: Install the new slack-side and tension-side guides. Drape the new chain over the sprockets, ensuring the colored links on the chain align perfectly with the timing marks on the crank and cam sprockets.
- Install New Tensioner: Bolt in the new tensioner but keep it retracted. Once the guides and chain are in place and aligned, release the tensioner plunger to apply tension to the chain.
- Verify Timing: Rotate the crankshaft by hand two full revolutions clockwise. Re-check that all timing marks are still perfectly aligned. There should be no binding or interference.
- Reassemble: Clean all mating surfaces thoroughly. Apply RTV sealant and a new gasket to the timing cover and reinstall it, torquing the bolts to spec in a crisscross pattern. Reinstall the crank pulley (torque to spec), valve cover, and all accessories. Refill with fresh oil and coolant.
Replacing the 3.3L VG33E / VG33ER Timing Belt
(Note: The VG33E/ER uses a timing belt, not a chain. The process is different but addresses similar noise from a bad tensioner.)
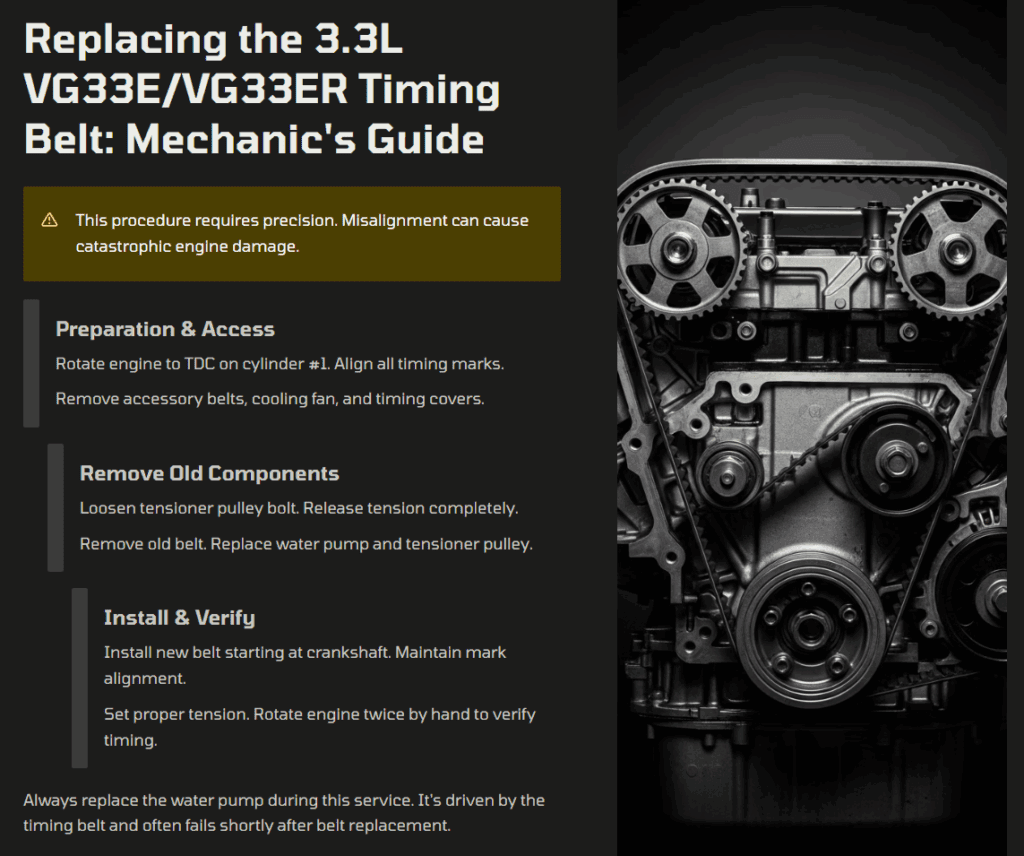
- Set to TDC: Rotate the engine to TDC on the #1 cylinder, aligning the marks on the crankshaft sprocket and camshaft sprockets with the marks on the engine block/rear timing cover.
- Access the Belt: Remove accessory belts, the cooling fan, and the front timing belt covers.
- Release Tension: Loosen the bolt on the timing belt tensioner pulley and push it away from the belt to release all tension.
- Remove Old Belt & Components: Carefully slide the old timing belt off the sprockets. This is the time to also replace the tensioner pulley and the water pump, as they are driven by the belt and are common failure points.
- Install New Components: Install the new water pump and tensioner pulley. Route the new timing belt around the sprockets, starting with the crankshaft. Ensure all timing marks remain perfectly aligned. The belt should be taut between the cam sprockets.
- Tension the Belt: Use a tool to apply the correct tension to the tensioner pulley and tighten its bolt to spec.
- Verify & Reassemble: Rotate the engine by hand two full turns and verify all timing marks are still aligned. Reinstall the timing covers, accessories, and fan. Refill with fresh coolant and oil.
Replacing the 4.0L VQ40DE Timing Chains
This is a significantly more complex procedure due to the dual-overhead-cam design with a primary and two secondary chains. Using the specialty tools is highly recommended.
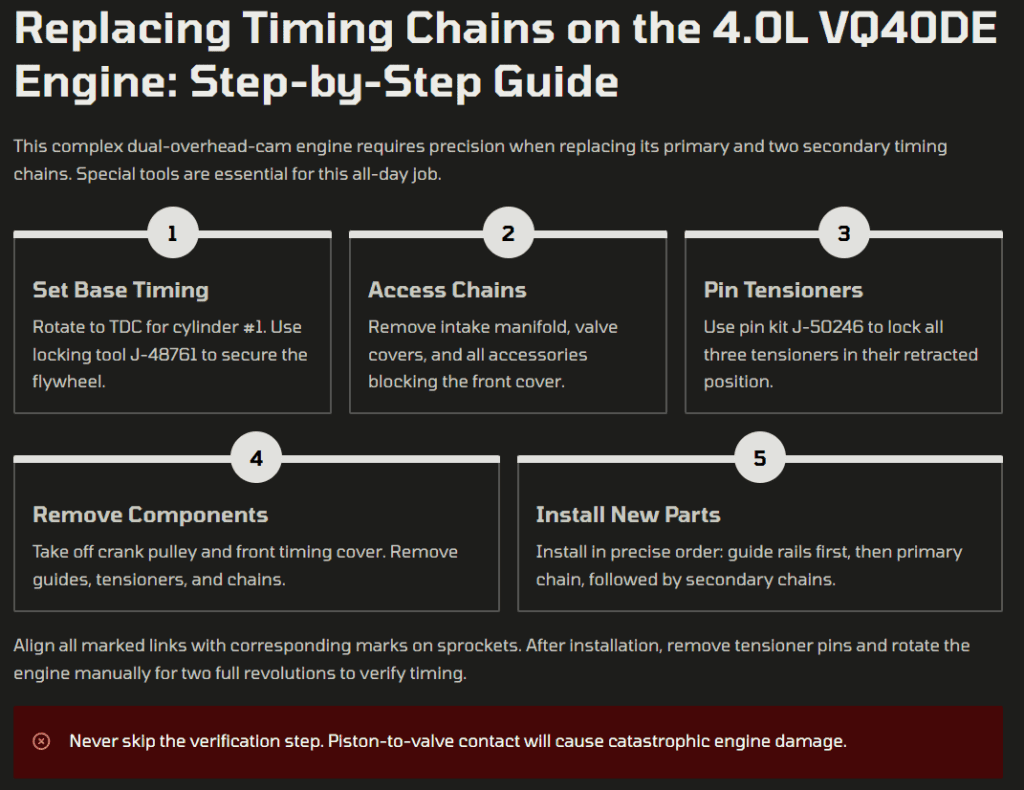
- Set Base Timing: Rotate the engine to TDC for cylinder #1. Use the locking tool (J-48761) to hold the flywheel/flexplate.
- Access Chains: Remove the intake manifold, valve covers, and all accessories blocking the front timing cover. This is a lengthy process.
- Pin Tensioners: Before removing anything else, use the pin kit (J-50246) to insert pins into the primary and both secondary tensioners, locking them in their retracted position.
- Remove Covers: Remove the crank pulley, then carefully unbolt and remove the main front timing cover.
- Remove Chains & Guides: With the tensioners pinned, you can now unbolt and remove the old guides, tensioners, and chains. Start with the secondary chains, then the primary chain.
- Install New Components: This must be done in a precise order. Install the new guide rails first. Install the new primary chain, aligning its marked links with the marks on the crank sprocket and the two main cam sprockets.
- Install Secondary Chains: Install the new secondary chains, aligning their marked links with the marks on the intake and exhaust cam sprockets for each bank. Install the new tensioners and updated plastic "shoes."
- Finalize Tension: Once all chains are on and aligned, and all guides/tensioners are bolted to spec, you can remove the locking pins one by one. The tensioners will spring into place.
- Verify and Reassemble: Remove the flywheel lock. Rotate the engine by hand at least two full revolutions to ensure there is no piston-to-valve contact and that timing marks re-align. This step is absolutely critical.
- Seal and Finish: Meticulously clean all surfaces. Reinstall the front timing cover with new gaskets and O-rings. Reassemble the rest of the engine in the reverse order of disassembly. This is an all-day job. Refill with oil and coolant.
Comparing Costs: DIY vs. Professional Repair
The decision to DIY this job often comes down to budget versus time and risk. The cost savings are significant, but a mistake can be catastrophic.
| Cost Item | DIY Estimate | Professional Repair Estimate |
|---|---|---|
| Parts Cost | $300 - $550 | $400 - $700 (with markup) |
| Specialty Tools | $30 - $100 (if needed) | $0 (included in labor) |
| Labor Cost | $0 (Your time) | $850 - $1,300+ |
| Total Estimated Cost | $330 - $650 | $1,250 - $2,000+ |
Should I try to fix the timing chain noise myself?
Fixing the timing chain noise on a Nissan Xterra is a job that can save you over a thousand dollars in labor costs, but it’s not for everyone. Consider these points before deciding:
- Skill Level: This is an intermediate-to-advanced DIY task. It requires mechanical know-how, attention to detail, and comfort working with engine timing. Minor mistakes during the process - such as misaligning timing marks - can result in severe engine damage.
- Tools Required: Standard mechanic’s tools are needed, and some engine variants - like the 4.0L VQ40DE - require specialty tools (e.g., timing chain tensioner pin kit, crankshaft locking tool).
- Time Commitment: Even experienced DIYers may spend an entire weekend completing the job, while a professional might do it in 5–7 hours.
- Cost Savings: If you have the patience and follow the steps carefully, you could spend as little as $330–$650 doing it yourself, compared to $1,250–$2,000+ for professional repair.
- Risks: If you are unsure at any point, it’s wise to consult a professional. Getting it wrong can lead to a no-start condition or catastrophic engine failure.
Bottom line: If you have mechanical experience, the right tools, and enjoy working on your own vehicle, tackling the timing chain noise yourself can be rewarding. If you have any doubts about your ability or the complexity, hiring a trusted mechanic will give you peace of mind and protect your engine.
Doing it yourself can easily save you over $1,000. However, the labor time is significant, often quoted at 5-7 hours for a professional, which can easily translate to a full weekend for a DIYer.
Tips & Tricks for a Healthy Timing System
Prevention is always cheaper than a cure. Follow these tips to maximize the life of your new or existing timing components.
- The Golden Rule of Oil Changes. This is the single most important factor. Use a high-quality, full-synthetic 5W-30 oil and change it and the filter every 5,000 miles, or even sooner if you tow or off-road frequently. Clean oil is essential for hydraulic tensioner health.
- Don't Ignore Your Check Engine Light. If your timing has jumped even one tooth, camshaft position sensors will often trigger a Check Engine Light (codes like P0011, P0021, etc.). Address these codes immediately.
- Listen for Early Warning Signs. Pay attention to your Xterra. If a faint startup rattle begins to appear, start planning the repair. Catching it early prevents the chain from causing damage to the sprockets or timing cover.
- Proactive Inspection. If you're already doing a major service that requires removing the front of the engine (like a water pump on the 2.4L or radiator replacement), it's a great time to pop the valve cover and inspect the guides and chain slack.
Nissan Xterra Timing Chain Noise FAQ
- What are the symptoms of a bad Nissan Xterra timing chain?
A metallic "rattle," "clatter," or "whine" from the front of the engine, especially on cold starts, that increases with engine RPM. - What causes timing chain noise in the Xterra?
Common causes include chain stretch, tensioner failure, worn or broken plastic guides, and poor oil quality or low oil pressure. - Which Xterra engines are affected by timing chain noise?
All engines - 1st Gen 2.4L, 1st Gen 3.3L, and 2nd Gen 4.0L V6 - can develop timing chain or belt noises if components wear out. - Is timing chain noise fatal for my engine?
Not immediately, but ignoring it can lead to the chain jumping timing, causing severe engine damage over time. - What special tools are needed to fix an Xterra timing chain?
Specialty tensioner pin kits and a crankshaft locking tool are recommended, especially for the 4.0L V6. - Can I fix the timing chain noise myself?
Yes, with mechanical skill, proper tools, and detailed instructions, this can be a DIY job, but it is complex and time-consuming. - What parts should be replaced during the repair?
Replace the timing chain or belt, tensioners, guides, seals, gaskets, and, for some engines, the water pump. - How much does it cost to fix the Xterra timing chain noise?
DIY costs range from $330–$650; professional repair can cost $1,250–$2,000 or more. - How can I extend the life of my timing system?
Use high-quality full-synthetic oil, change it every 5,000 miles, and address any check engine lights or early warning noises. - Is it worth doing the repair myself or should I hire a professional?
DIY saves money but is challenging and risky; hiring a professional is safer if you're unsure or lack tools.
Some Further reading on maintaining your Xterra
- If you haven't performed an engine oil change recently, make sure to use high-quality synthetic 5W-30 oil to protect the timing chain and tensioner.
- During timing chain replacement, you will need to drain and refill the coolant - follow the detailed coolant flush guide for best results.
- Remove the serpentine/accessory belt before starting; check for cracks and replace if worn.
- With the valve covers off for timing work, it's a good opportunity to replace the spark plugs at the same time.
- Always disconnect the negative battery terminal before you begin engine disassembly.
- For manual transmission models, timing chain replacement sometimes coincides with clutch service - see the complete DIY guide if you're tackling both.
- If you notice spongy brakes following your timing chain repair, refer to the brake bleeding guide for a safe fix.
Conclusion - Fix your Xterra's Timing Chain
The dreaded Nissan Xterra timing chain noise, while alarming, is a solvable problem. It's a clear signal from your vehicle that key components have worn out and require attention. For most owners, the issue stems from a combination of a stretched chain, a failed tensioner, and, particularly on the 4.0L VQ40DE, worn-out plastic guide shoes. The repair is a direct replacement of these worn items.
By correctly diagnosing the sound, understanding its cause, and carefully following the proper procedure for your specific engine, you can restore your Xterra's health and quiet operation. The decision between a DIY repair and a professional service hinges on your mechanical skill, tool access, and willingness to take on a complex, high-stakes job. Saving over a thousand dollars is a powerful motivator, but the peace of mind from a professional job is also valuable.
Your next step is clear: listen closely to the noise, confirm its source, and gather the parts and information needed. Whether you wrench on it yourself this weekend or schedule an appointment with a trusted mechanic, you are now equipped with the knowledge to silence the rattle and keep your Xterra adventuring for years to come.